저번 포스팅에 이어 image를 다루는 두번째 시간이 되겠다.
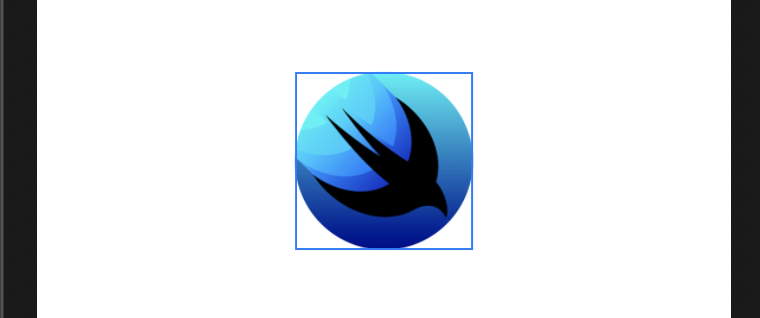
SwiftUI에서는 clipShape 수식어를 사용해서
image를 원하는 모양으로 만들 수 있다.
전달인자에 Circle을 초기화 해주면
원형의 image로 바뀌는걸 볼 수 있다.
cornerRadius를 설정하기 위한
imageView.width의 / 2와 maskToBounds 같은 코드는
더이상 필요하지 않다.
Image("swiftui")
                .resizable()
                .clipShape(Circle())
                .frame(width: 100, height: 100, alignment: .center)

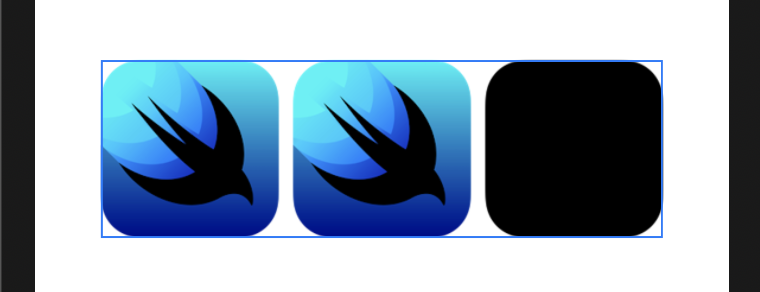
image의 렌더링 모드는
template랑 original 이라는 모드로
2가지가 사용된다.
template는
image의 불투명 영역이 가진 본래의 색을 무시하고
원하는 색으로 변경해 템플릿 image로 활용할 수 있게 하고
origianl은 항상 image 본래의 색을 유지시킨다고 한다.
HStack(content: {
            Image("swiftui")
                .resizable()
                .renderingMode(.none) // default
                .frame(width: 100, height: 100, alignment: .center)
            Image("swiftui")
                .resizable()
                .renderingMode(.original) // image 본래의 색을 유지
                .frame(width: 100, height: 100, alignment: .center)
            Image("swiftui")
                .resizable()
                .renderingMode(.template) // image 본래의 색을 무시하여 templete 으로 사용 가능
                .frame(width: 100, height: 100, alignment: .center)
                // .foregroundColor(.red) - 색생 변경 가능
        })

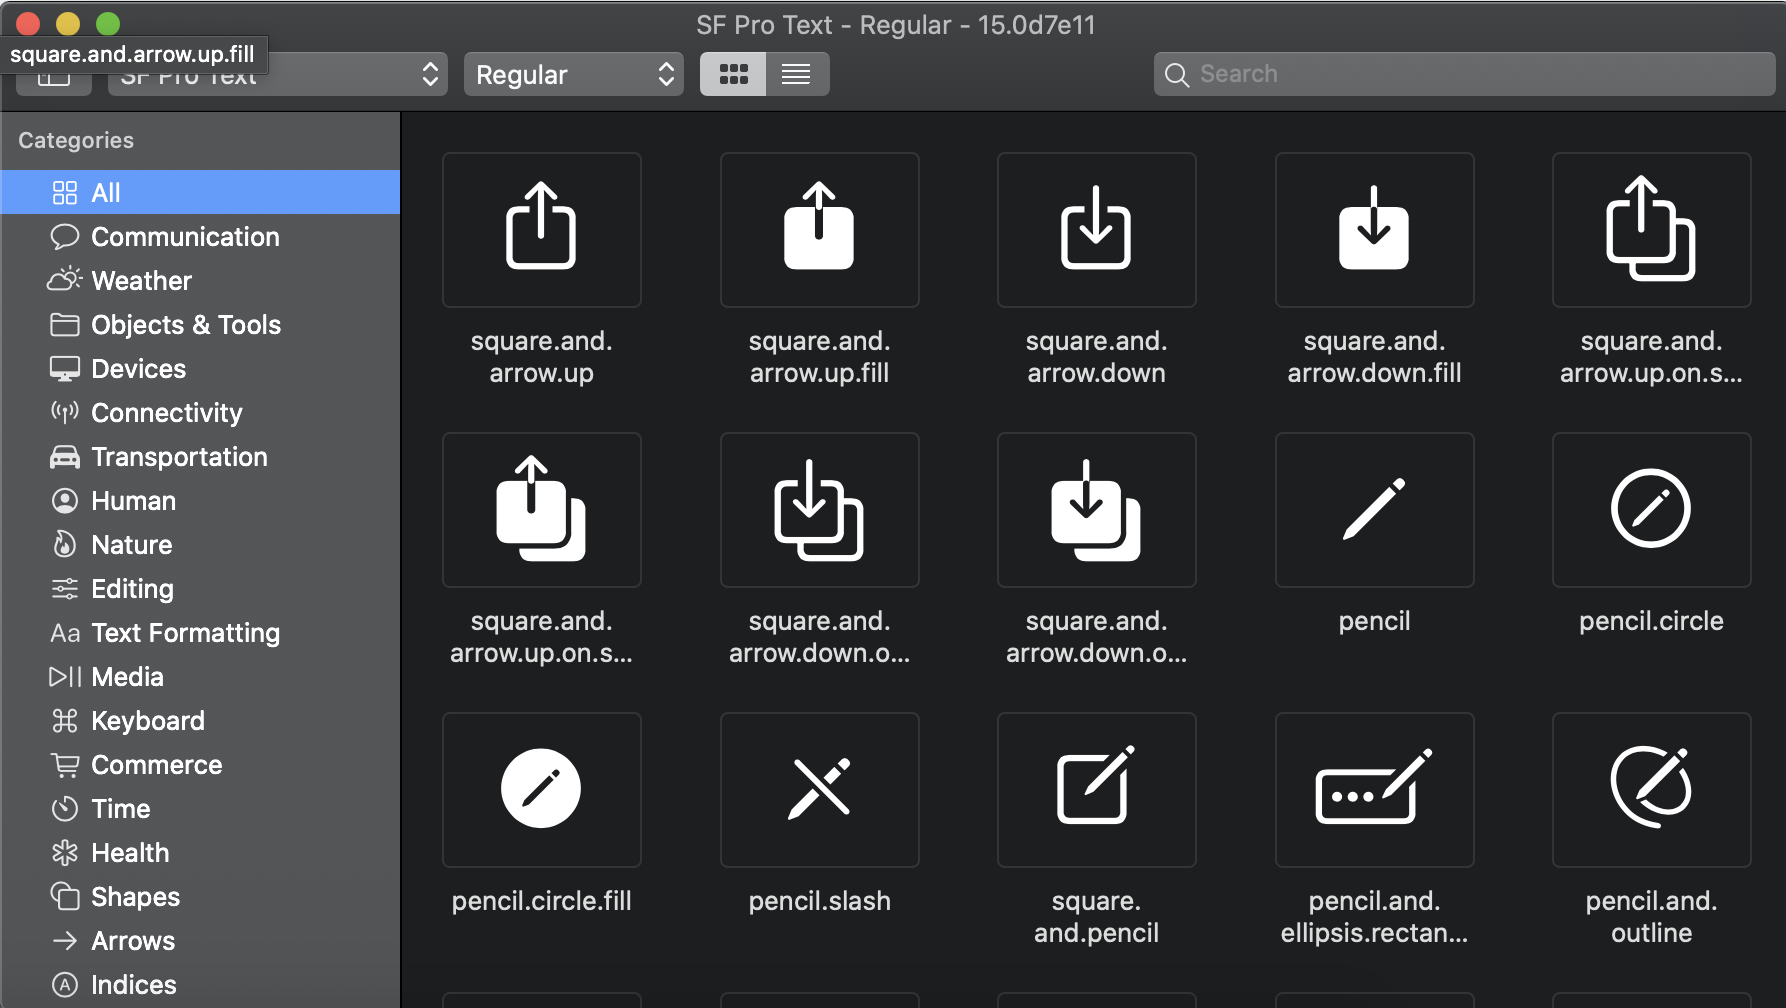
SF Symbols
애플에서 직접 만들고 제공하는 image들의 모음집이 있다.
SF Symbols라는 건데
필자는 현재 UIKit 으로 작업할때도
애용하는 툴이다.
간단한 네비게이션 바버튼이나
버튼의 image를 설정해야 할때
아주 요놈이다.

image의 systemName에
원하는 symbol의 name을 전달해 주면
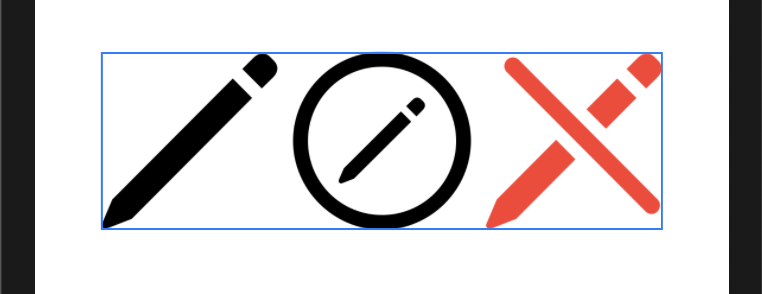
아래와 같이
손쉽게 image를 표현해줄 수 있다.
HStack(content: {
            Image(systemName: "pencil")
                .resizable()
                .renderingMode(.none)
                .frame(width: 100, height: 100, alignment: .center)
            Image(systemName: "pencil.circle")
                .resizable()
                .renderingMode(.original)
                .foregroundColor(.red)
                .frame(width: 100, height: 100, alignment: .center)
            Image(systemName: "pencil.slash")
                .resizable()
                .renderingMode(.template)
                .frame(width: 100, height: 100, alignment: .center)
                .foregroundColor(.red)
        })

혹은 imageScale 이나
font로 크기를 변경할 수도 있고
HStack(alignment: .center, spacing: 30, content: {
            Image(systemName: "pencil")
                .imageScale(.small)
            Image(systemName: "pencil")
                .imageScale(.medium)
            Image(systemName: "pencil")
                .imageScale(.large)
            Image(systemName: "pencil")
                .font(.title)
            Image(systemName: "pencil")
                .font(.system(size: 40))
            Image(systemName: "pencil")
                .imageScale(.large)
                .font(.system(size: 40))
        })

굵기 설정 또한 가능하다
Image(systemName: "pencil")
                .imageScale(.large)
                .font(Font.title.weight(.black))
            Image(systemName: "pencil")
                .imageScale(.large)
                .font(Font.title.weight(.bold))
            Image(systemName: "pencil")
                .imageScale(.large)
                .font(Font.title.weight(.heavy))
            Image(systemName: "pencil")
                .imageScale(.large)
                .font(Font.title.weight(.light))
            Image(systemName: "pencil")
                .imageScale(.large)
                .font(Font.title.weight(.semibold))

'SwiftUI' 카테고리의 다른 글
| [SwiftUI] Stack (0) | 2021.01.08 |
|---|---|
| [SwiftUI] Image (1) (0) | 2020.12.31 |
| [SwiftUI] Text (0) | 2020.12.28 |
| [SwiftUI] Hello SwiftUI (0) | 2020.12.26 |


